Setup and Operation
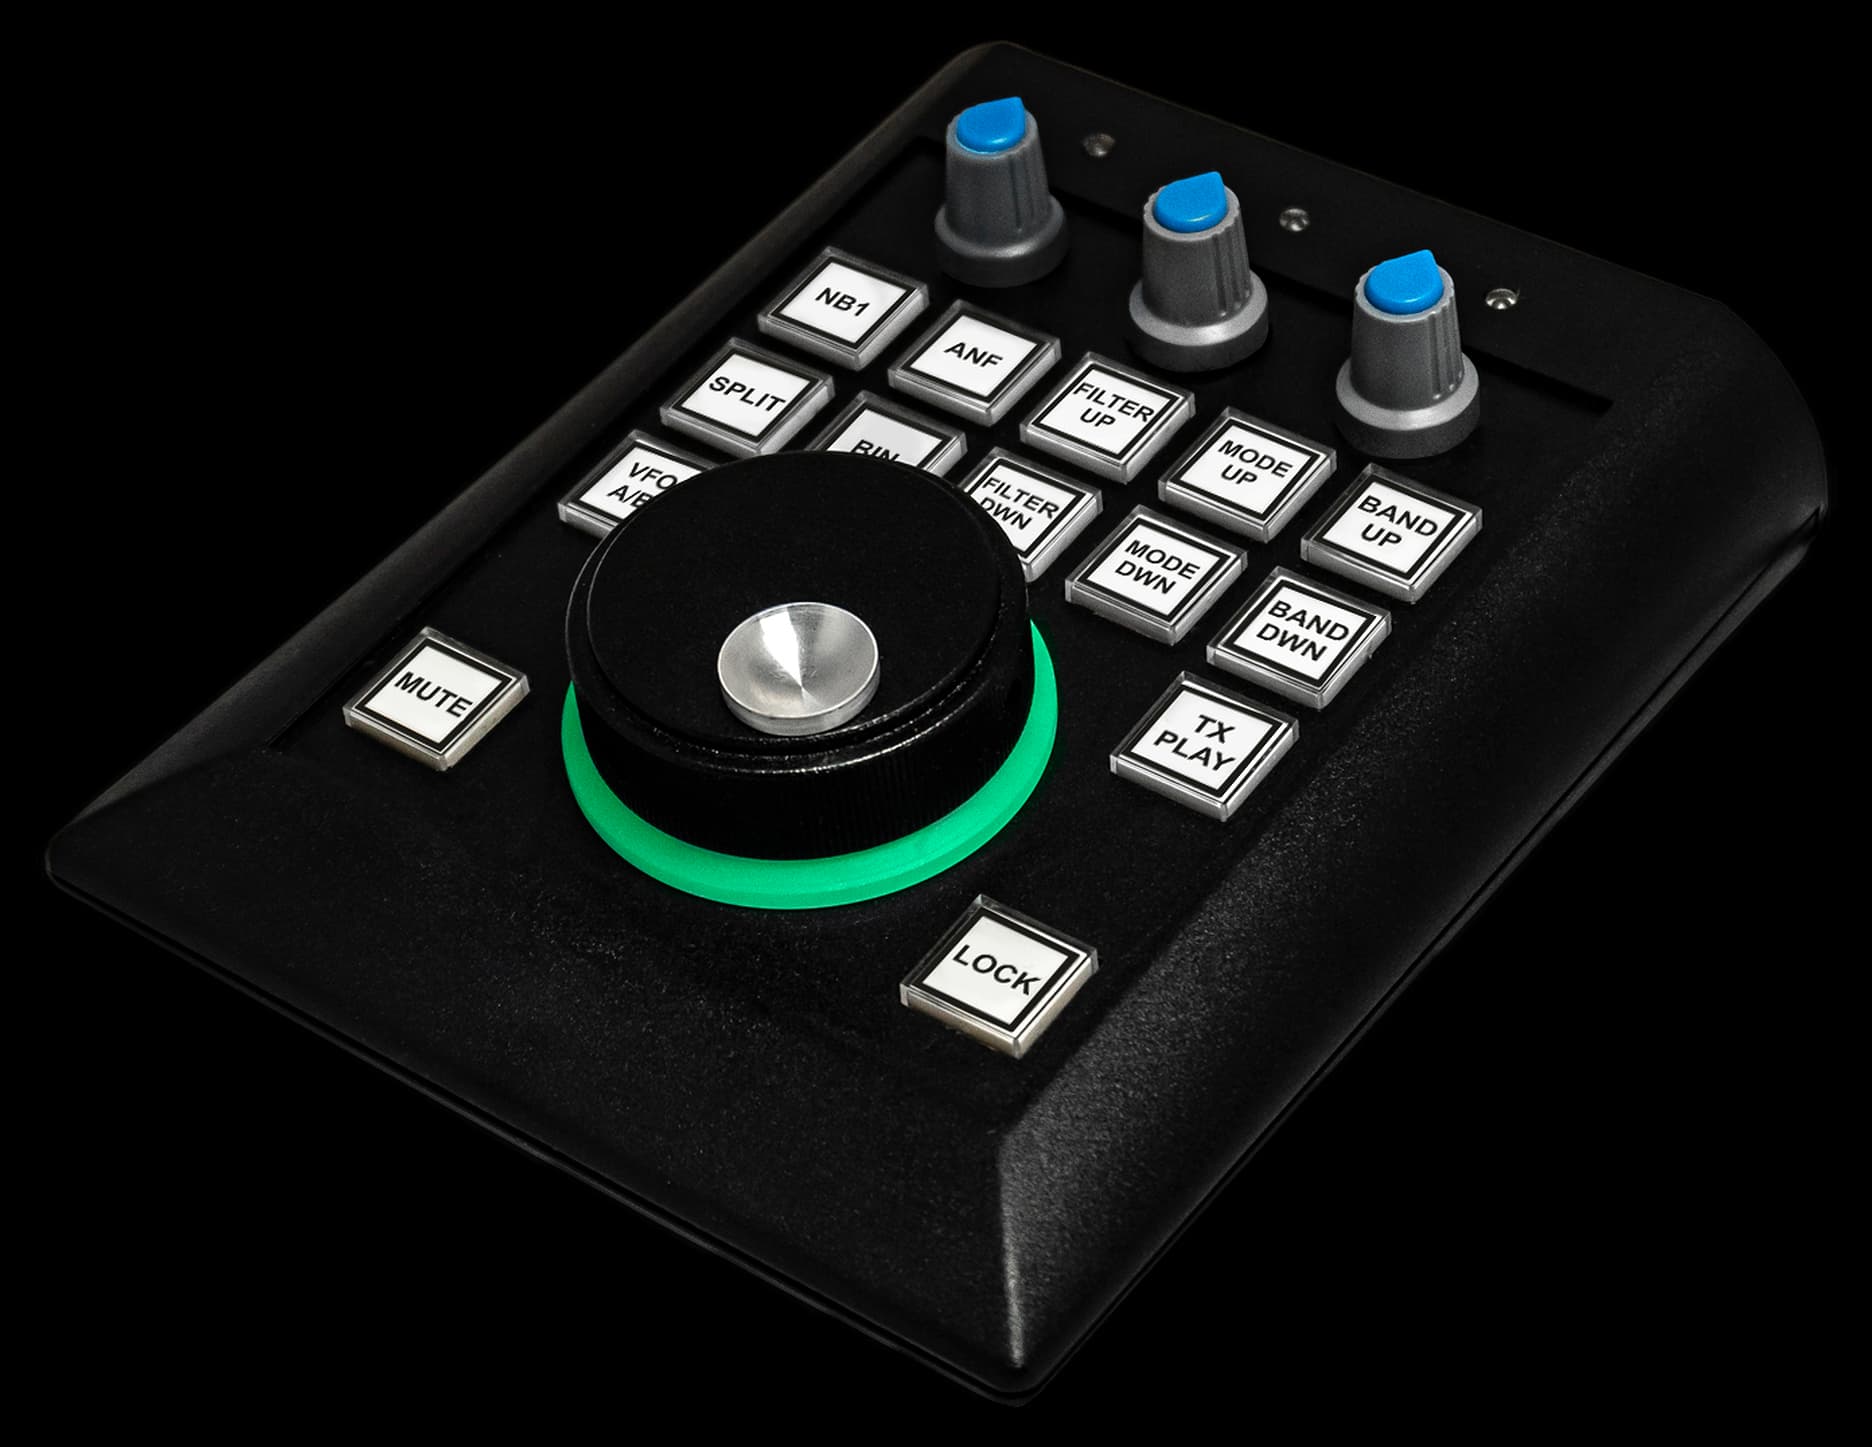
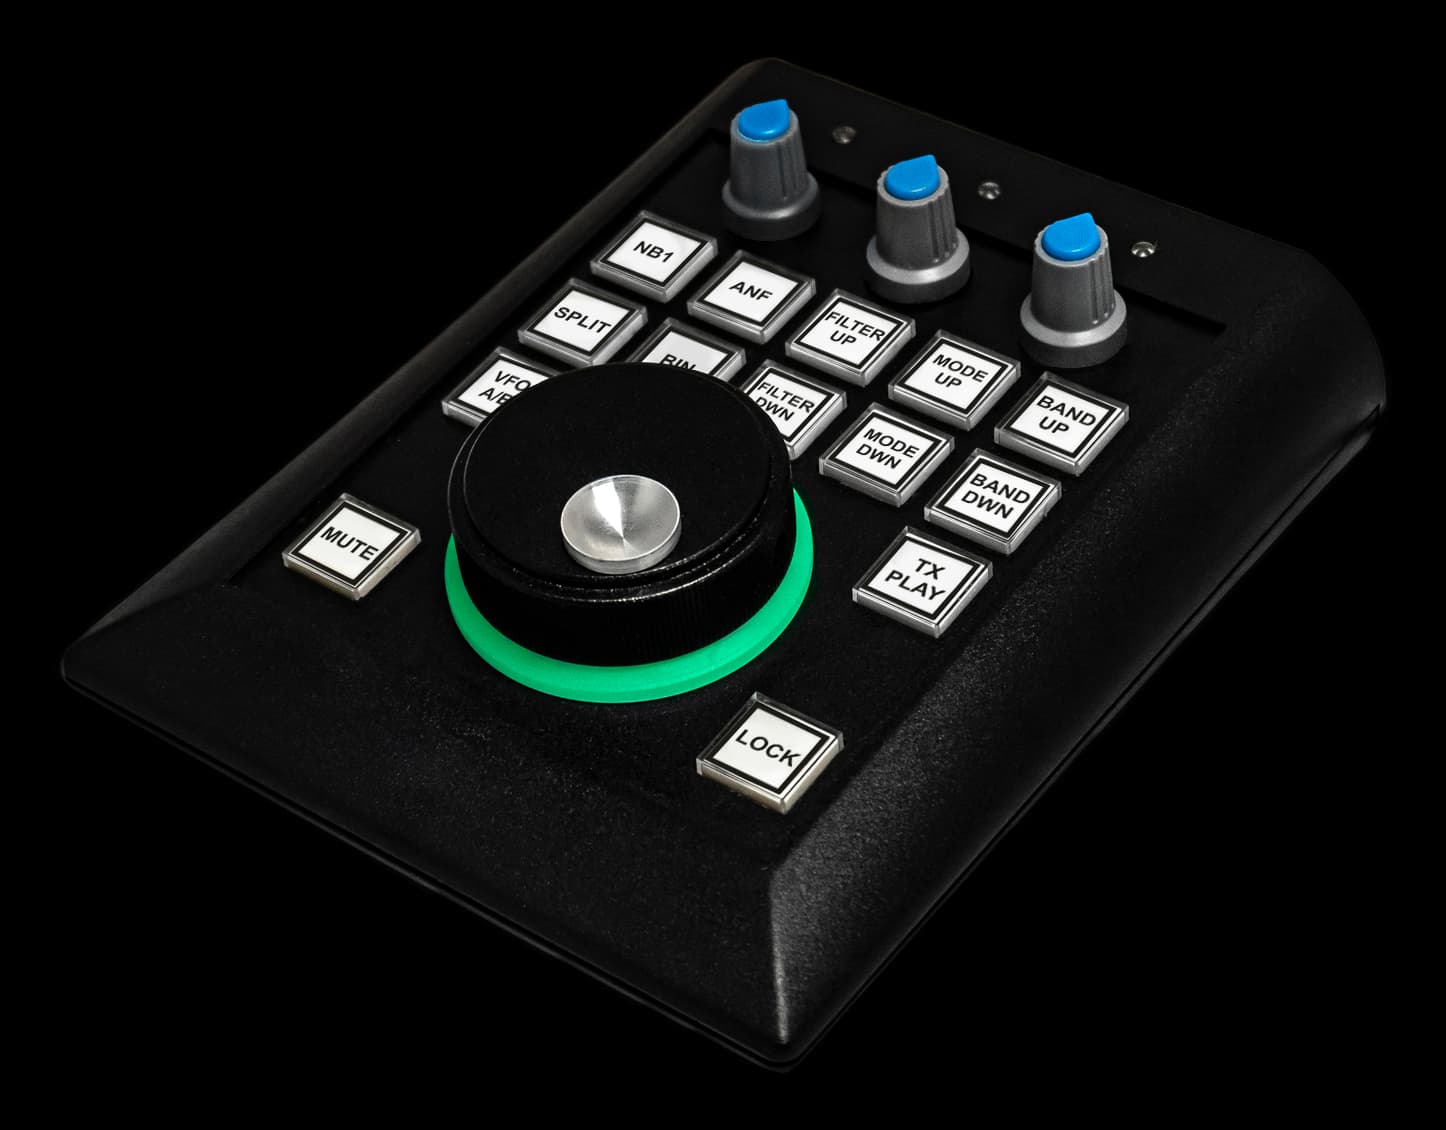
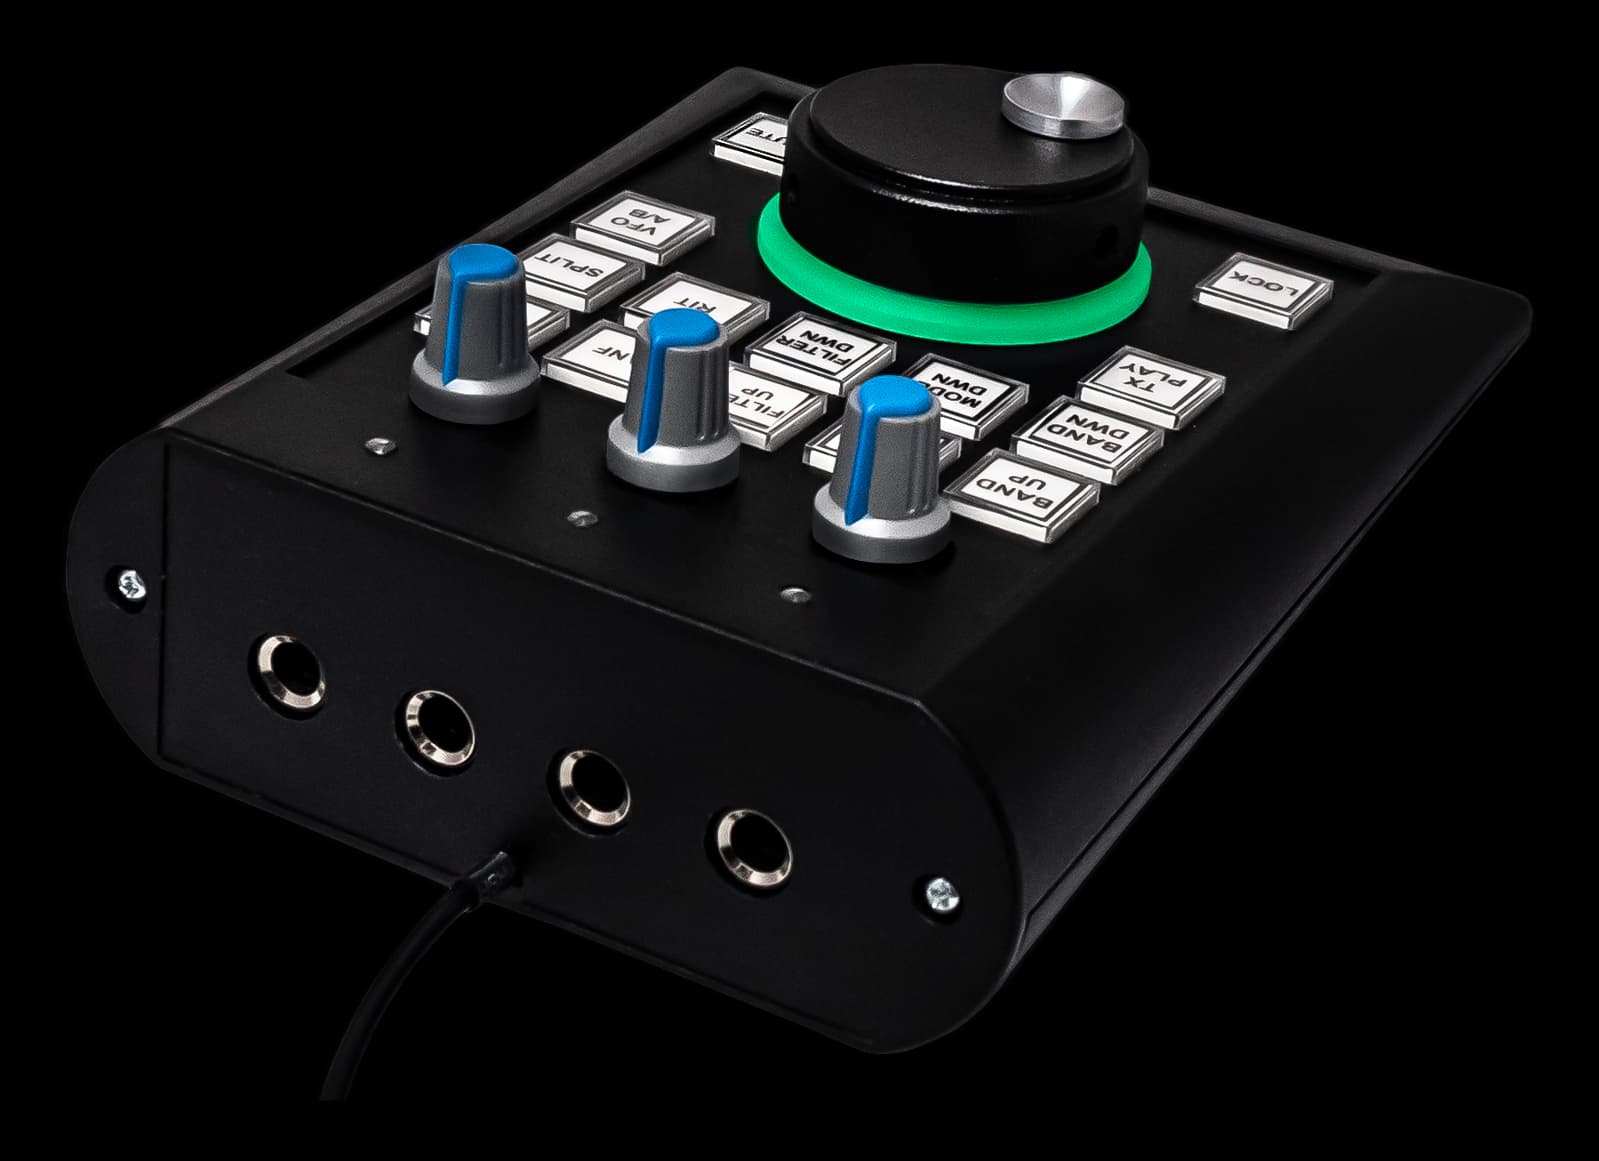
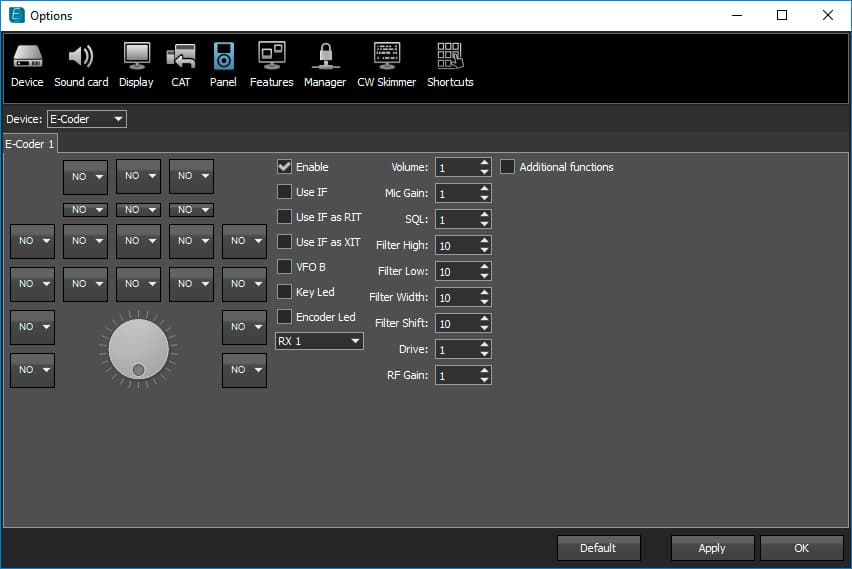
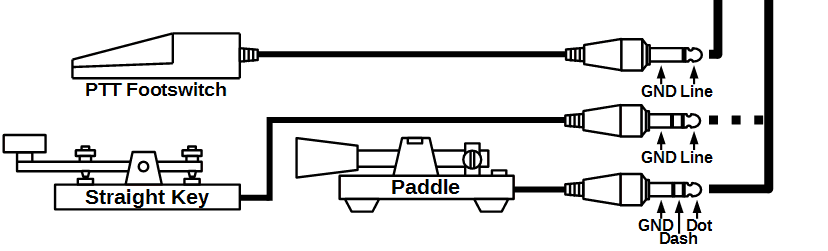
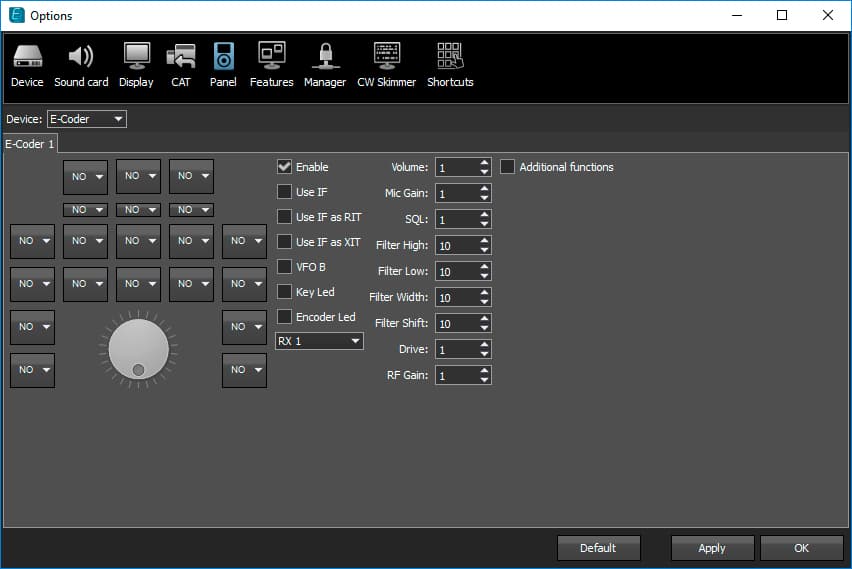
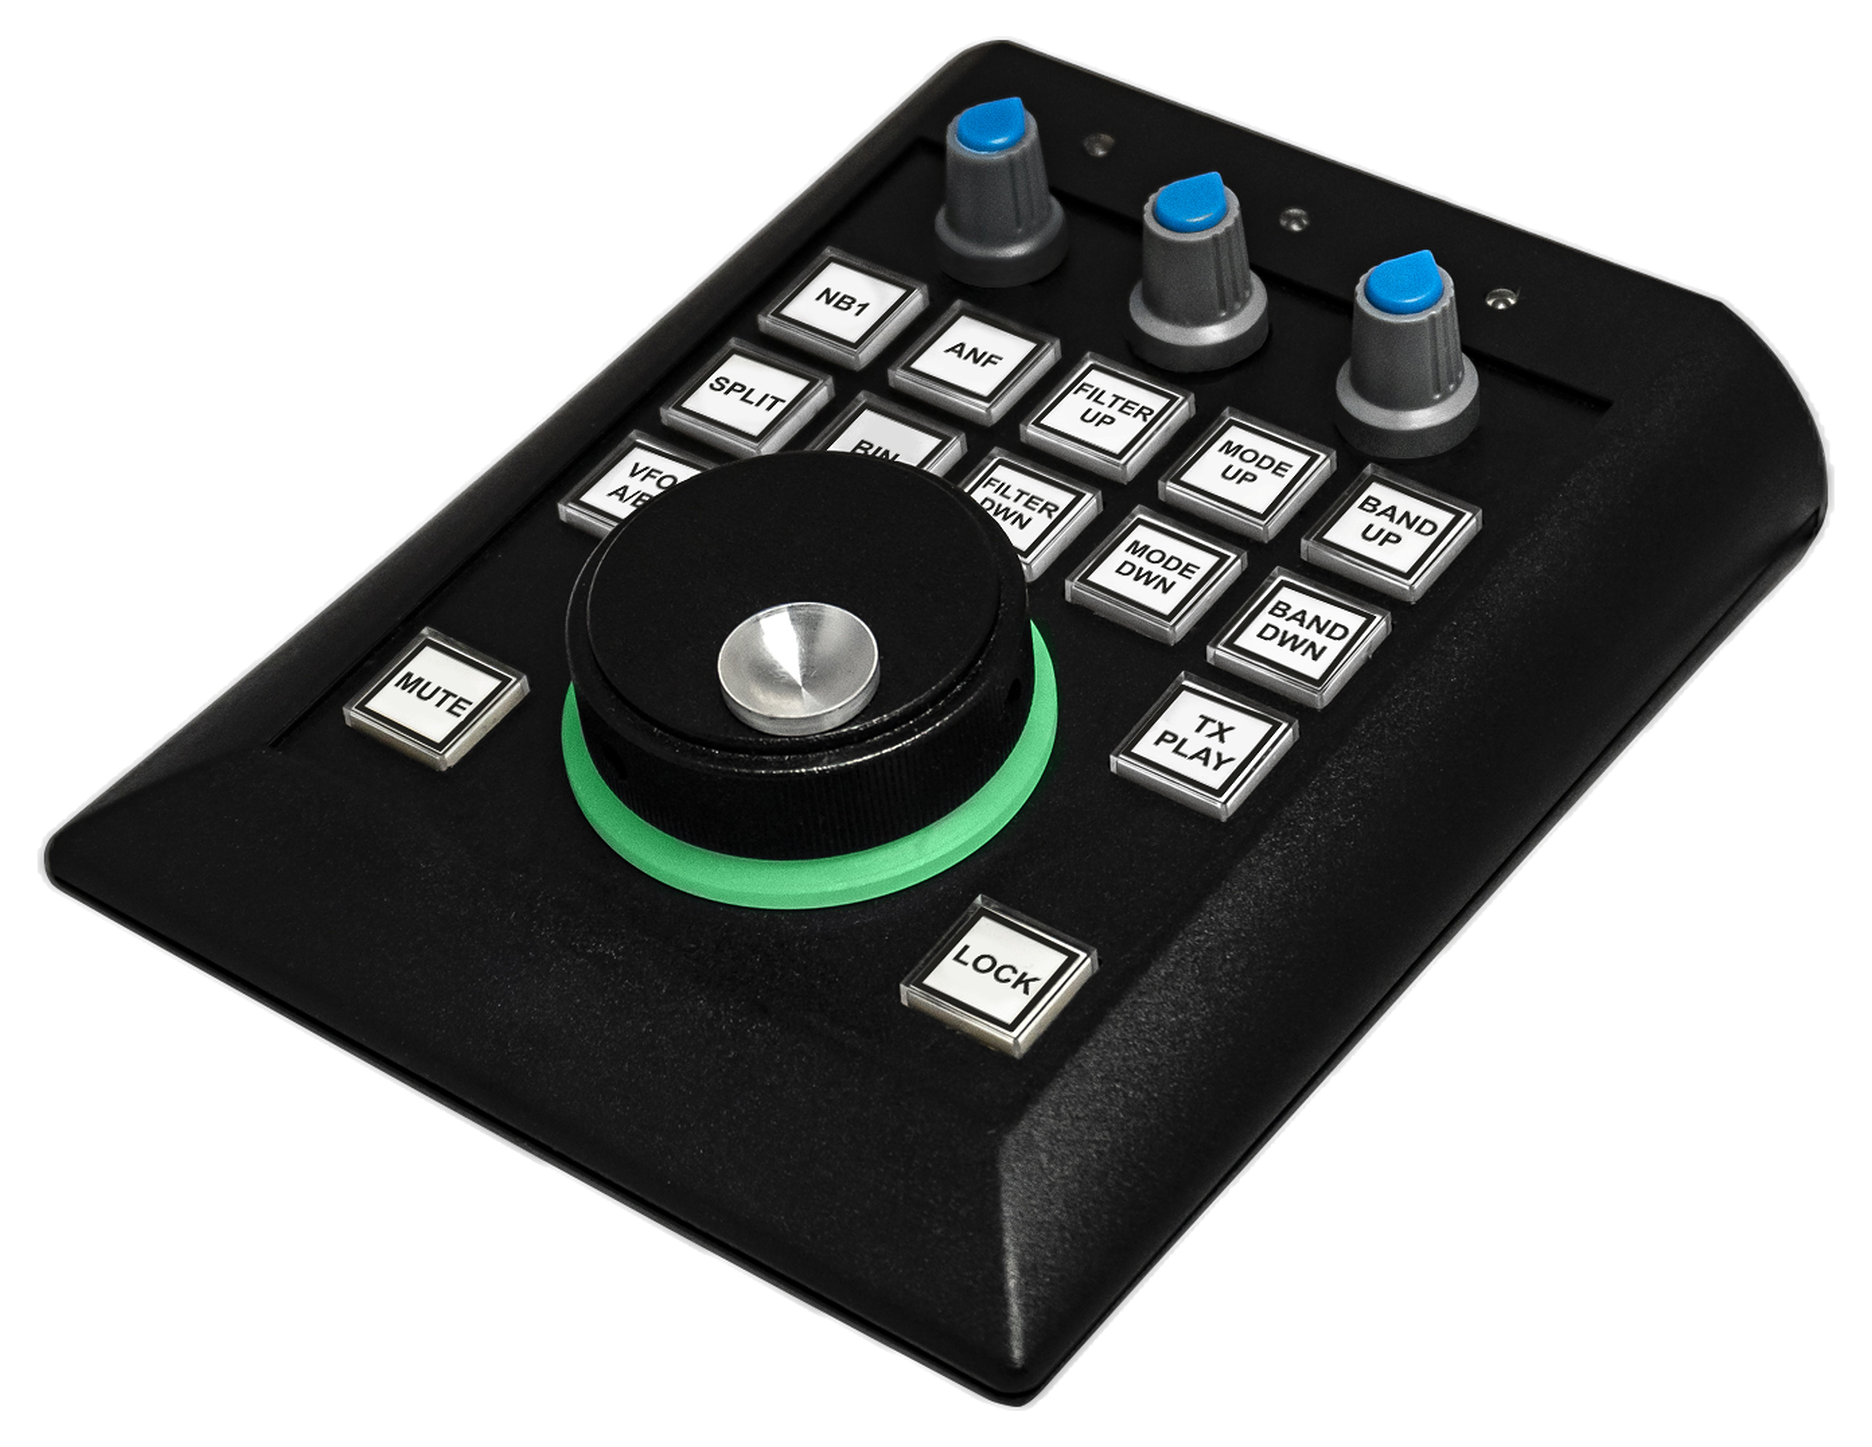
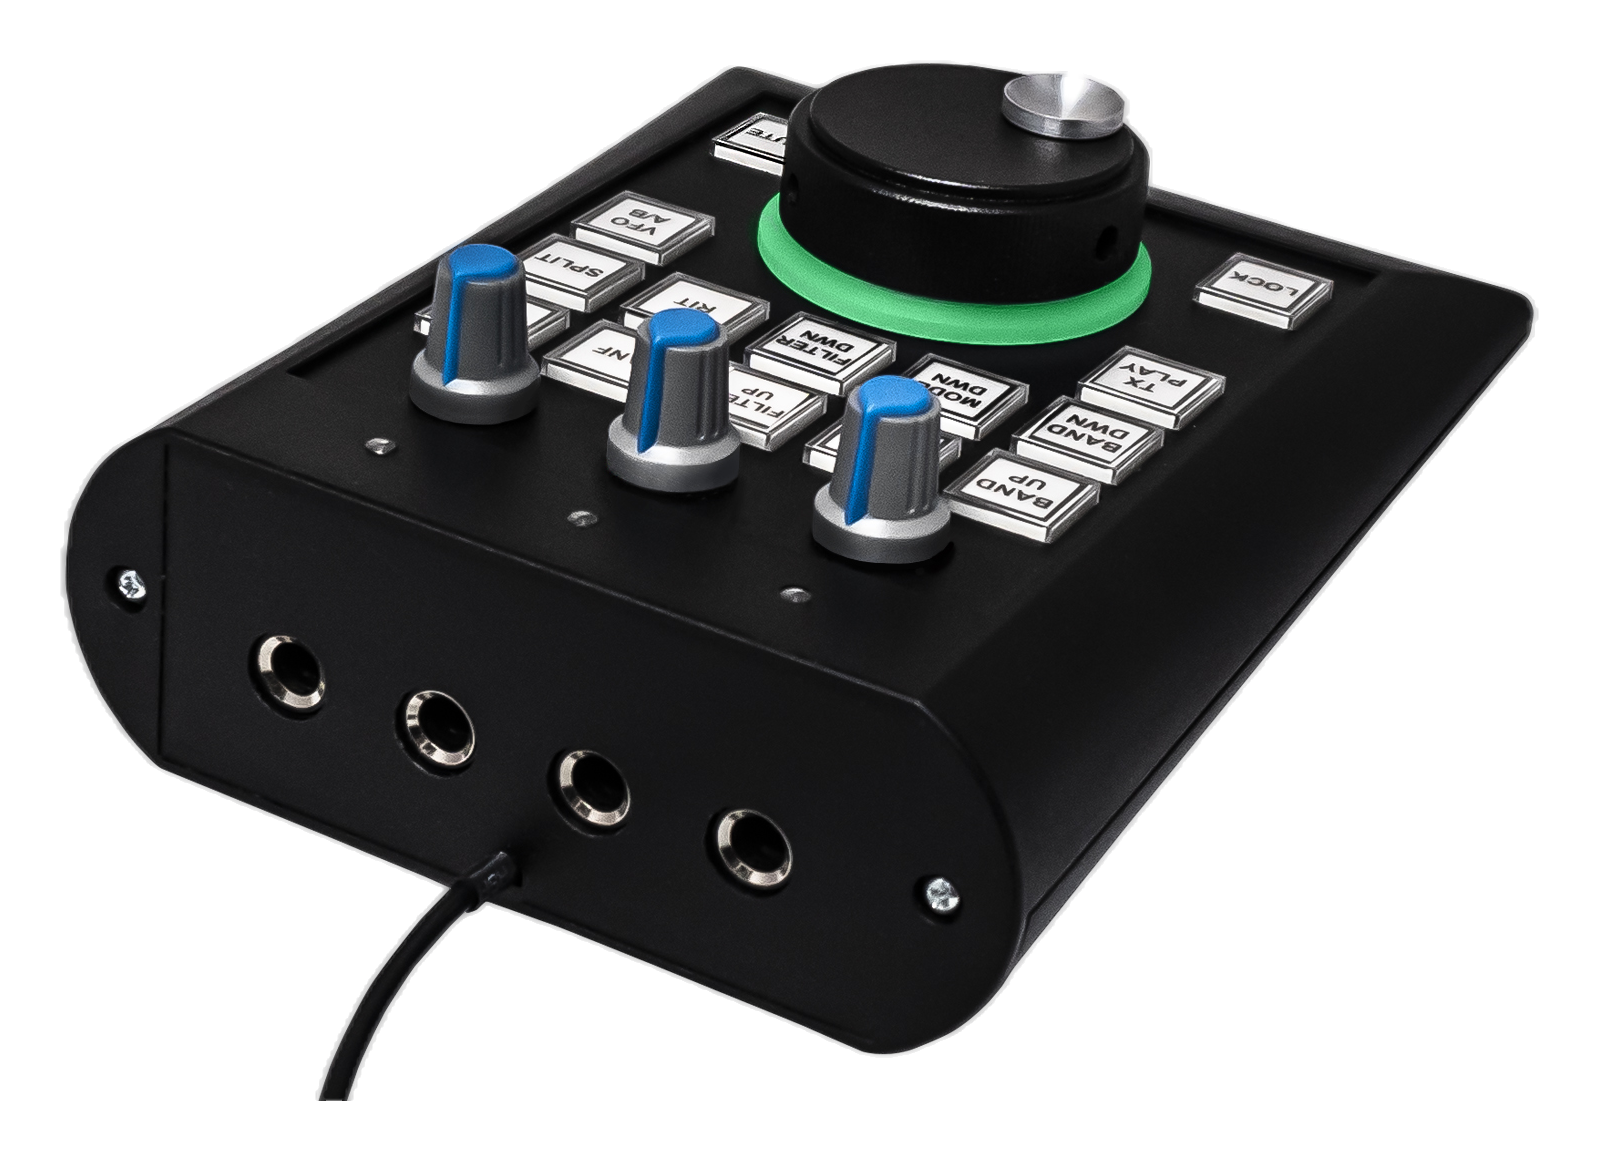
ExpertSDR2In the menu, checkbox 1 enables or disables hardware panel support. If it is selected, the panel starts working as soon as it is connected. The window also lets you select functions for the panel buttons 3 and the small encoder buttons 4. Use controls 2 to assign a function to each mechanical encoder's rotation: click the corresponding control and select the required function. A function can also be assigned to the main tuning encoder's push-button using control 5. Control 6 sets the adjustment step for the relevant function. For volume, the Volume field specifies the number of increments per encoder step, over a range from 0 to 100. If the intermediate-frequency function IF is assigned, the IF field specifies the tuning step in Hz per encoder step. Other functions are configured in the same way. After connecting the panel, the KEY and PTT control sockets on the rear panel also become available for a CW key and footswitch. Control panel function settings in ExpertSDR2Control panel support in ExpertSDR2The mechanical encoder functions currently available are listed below. This list is not final: new functions will be added as the software develops.Functions assignable to mechanical encoders in ExpertSDR2Volume — volume adjustmentMic Gain — microphone gain adjustmentFilter High — upper filter edge adjustmentFilter Low — lower filter edge adjustmentFilter Width — filter width adjustmentFilter Shift — filter offset adjustmentDrive — power amplifier drive adjustmentIF — intermediate-frequency tuning (moving the filter)RF Gain — maximum AGC gain adjustmentFunctions assignable to panel buttons in ExpertSDR2Band Up — move to the next higher bandBand Down — move to the next lower bandMode Up — select the next modulation modeMode Down — select the previous modulation modeVolume Up — increase volume by 5 incrementsVolume Down — decrease volume by 5 incrementsMute — toggle muteBIN — toggle pseudo-stereo modeNR — toggle NRANF — toggle ANFNB — toggle NBPower On/Off — switch ExpertSDR2 on or offNB2 — toggle NB2VFO Lock — toggle tuning lockMemory Up — move up one entry in the frequency listMemory Down — move down one entry in the frequency listFilter Up — select the next wider filterFilter Down — select the next narrower filterSQL — toggle squelchFilter Shift Reset — reset the filter offsetNone — no functionPA — switch the external power amplifier on or offAgc Up — select the next higher AGC settingAgc Down — select the next lower AGC settingPreamp Up — select the next higher preamp settingPreamp Down — select the next lower preamp settingNext Station — next station in the instant memoryPrevious station — previous station in the instant memoryStep Up — select the next larger tuning stepStep Down — select the next smaller tuning stepZoom Up — zoom in on the panoramaZoom Down — zoom out on the panoramaExpertSDR3In the Panel menu, you can see the settings of the E-Coder control panel. In the drop-down Device menu, you can select the type of the connected control panel.Note! If one E-Coder panel is connected to the transceiver, in the Panel menu displayed one E-Coder 1 tab, if several E-Coder panels are connected to the transceiver, in the Panel menu displayed several tabs E-Coder 1, E-Coder 2, etc. with identical settings for each panel. E-Coder2 settings in the ExpertSDR3 0.11.0In the left part of the menu, you can see the schematic picture of the E-Coder panel with buttons and knobs. Press any button, you'll see the list of the available functions.In the right part of the menu, you can see the main panel settings:Enable - enable E-Coder panel controlUse IF - frequency tuning by moving the filter over the panoramaUse IF as RIT - tuning by IF when the RIT offset is onUse IF as XIT - tuning by IF when the XIT offset is onVFO B - enable sub-receiverAdaptive tune - the faster you rotate the main knob the bigger the tuning stepFine tune - enable for a more precise tuningKey Led - enable backlit keypadEncoder Led - enable the backlit encoderTransceiver 1 - select one of the software receivers RX1 or RX2No transfer PTT - drop-down menu.Sound card tabIndication of mic and headphones signals.Monitor - uses the DSP core in the panel, this way audio is generated by the panel itself which eliminates monitoring delay, but the sound you hear will differ from what you actually TX on the air.Monitor in TX - uses the ExpertSDR3 DSP, this way you hear exactly what you TX, but with a delay.There are three LEDs on the E-Coder panel, from left to right: 1) Lights green when the VFO B is active 2) Lights red when on TX 3) Lights orange when the RX2 is activeFor proper operation of the E-Coder2 panel USB-port should provide 5V, current not less than 0.5 A. Otherwise, you might have issues with the audio—cracks, improper supply of the mic.